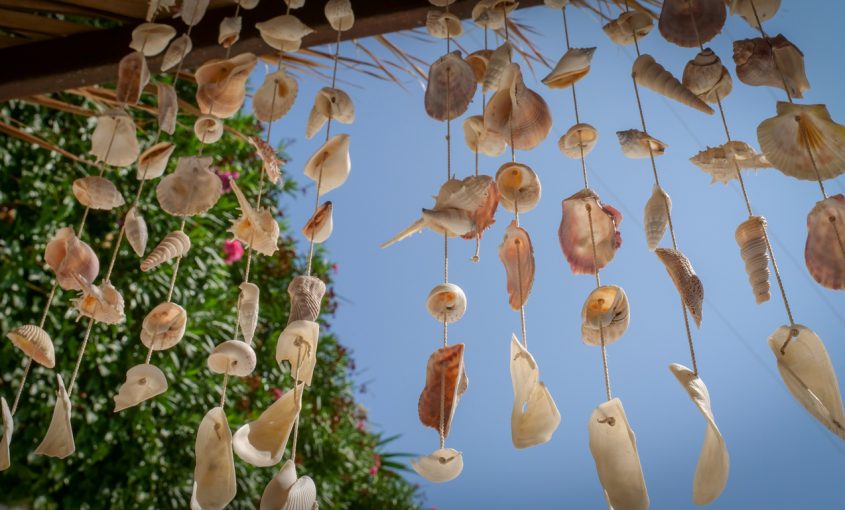
DIY Beach Art to Remember Your Myrtle Beach Vacation
While the beach stores and local souvenir markets are packed with ready-made artwork you can buy and take home, why not make it yourself and include your personal memories? We have a few fun DIY beach art projects that are simple to make but have a lifetime of memories.
Shadow Boxes
Display your interesting shells and fun beach finds in shadow boxes. First, gather your beach treasures like shells, sea glass, sand dollars and shark teeth and choose the ones you want to include. Also use pictures, chipboard letters and any other crafty element you’d like to add. Line the back of the shadow box with craft or scrapbook paper in a beachy or sandy print and secure with adhesive tabs to keep it flat. Arrange your items in the shadow boxes until you have each one just how you want it. Then secure the items to the back with hot glue or craft adhesive. Once the glue is dry and all pieces are attached, reassemble your shadow boxes. If you have some sand, add some sand along the bottom of the boxes before you close them up for a simply beachy decoration that holds your memories securely.
Mermaid Silhouette
Collect as much sea glass in as many colors as you can. Aim for flatter pieces of different sizes. Purchase a mermaid shaped wood cut out at a local craft store or online. Paint the whole mermaid white or whatever color you prefer. Once paint is dry, use some rough sandpaper to sand away some of the paint for a more weathered look. Arrange the sea glass to make up the tail of the mermaid. Wait to glue pieces down until you have finished arranging all of the pieces and have it just the way you want and then use a hot glue gun to glue the pieces of sea glass to the wood. If you wish, you can also use sea glass for the mermaid’s hair as well. Let your imagination flow!
Starfish Wall Art
Collect starfish skeletons in a variety of sizes. Purchase a wood plank sign of either a wide piece of wood or two planks. Either stain or paint the wood as desired. Once dry, use rough sandpaper to distress the finish for a weathered, beachy look. Next, arrange the starfish on the plank in a straight line with different sizes or arrange in whatever way speaks to you. This is art! There are no boundaries! Have fun with it and let your creativity flow. Once you have the starfish arranged how you want them, simply use a hot glue gun to secure them to the wooden planks. Instant wall art!
These three DIY beach art projects are just a few to get your imagination and creativity flowing. There are so many things you can do with the treasures you found on the beach during your vacation. And what better way to display your memories than with a unique piece of art that you made yourself.


